
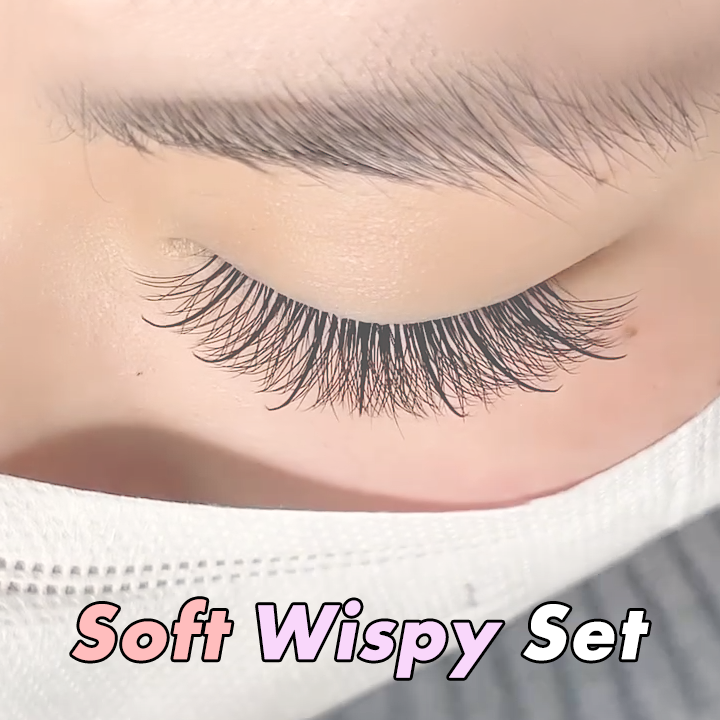
Soft Wispy Lash Extensions Set Tutorial + Lash Map
🔖 Soft Wispy Set Map & Tutorial
1.Lash Spikes:
(1) Apply the lash spikes to the strong natural lashes in the middle layer.
In this order: inner corner - outer corner - middle.
(2) Apply 2 more lash spikes in between.
(The frame lashes are the key to this set. If any of the frame lashes is not perfectly placed, remove it with gel remover and redo it.)
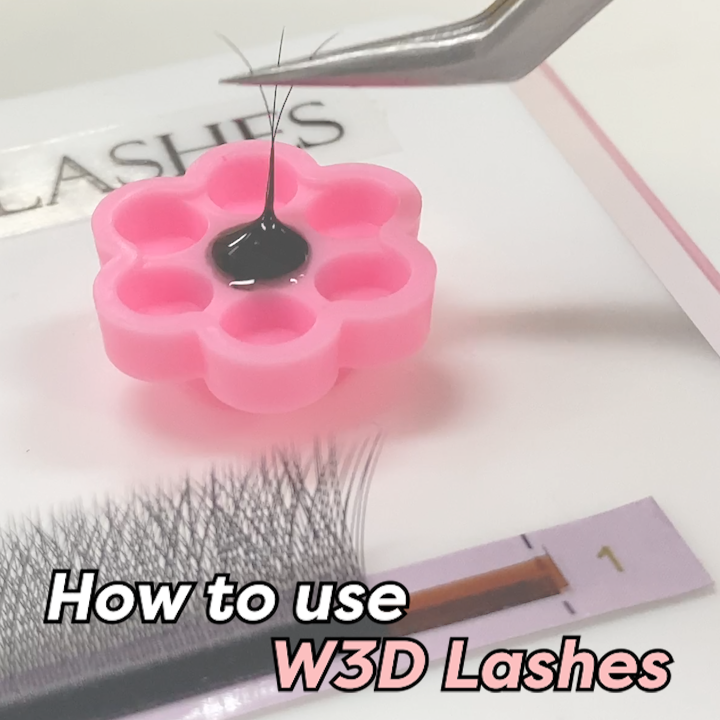
2. Fillling:
When the frame is finished, fill in with W3D lashes. The ideal length of the filling lashes is 2 to 3 mm shorter than the frame lashes.
Since the stem of W lashes is longer than pointy premade fans, it's recommended to use 3mm shorter length, so that the frame lashes look more prominent, and the whole set looks wispier.
You can also fill with W4D, W5D, W6D or volume fans.
Products used to create Soft Wispy Set:
| Arison Lashes® W3D Lashes |
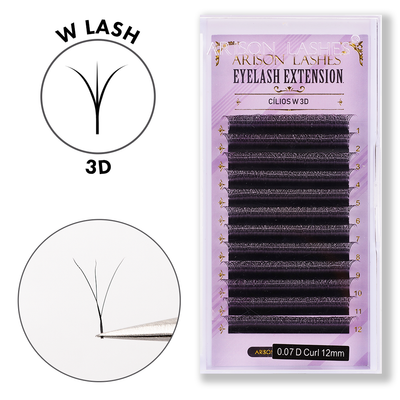 |
| ArisonLashes® W volume lashes can be seen as a medium-stem premade fans, but are much more economical than premade fans. They allow you to create volume 3D effect while using classic application technique. |
| Arison Lashes® Ultra Bond Lash Glue |
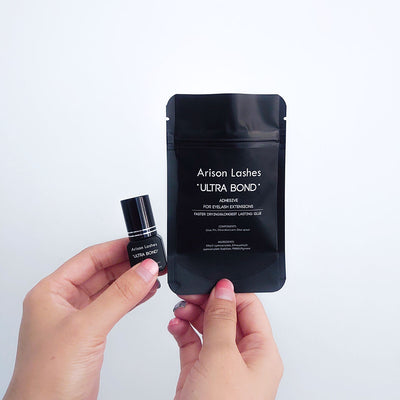 |
| 1-second quick drying glue helps to create a firm, long-lasting bond between lash extensions and the natural lashes. |
Watch the video on: 📷Instagram 📍Pinterest 📺YouTube
Leave a comment