How To Use W3D Lash Extensions?
In this post, you will learn how to pick up W3D lashes, how to dip lash glue, how to place W3D lashes to achieve the best bond.
What are W lashes?
W volume lashes ( 3D, 4D, 5D, 6D, 8D) can be seen as a medium-stem premade fans, but are much more economical than premade fans.
W lashes have the advantages of both classic and premade fan lash extensions, and bridges the gap between classic and volume lashes. They allow you to create volume 3D effect while using classic application technique.
A full volume lash set usually takes 90-120 minutes, but W volume lashes can help to speed up volume extension significantly, and shorten the grafting time to 20-30 minutes. 🆙
You can use W lashes alone to create a full volume set, or you can use them as the 'foundation' of volume lash sets, and make some variant using classic lashes or spikes, or camellia lashes after applying W-lashes.
How to use W3D lashes?
1. How to pick up a W3D lash
- Grab a W3D lash at the base and pull it a bit forward.
- Move the half opened tweezers up and lamp the lash at the upper 1/2 or 1/3.
- Pick up the lash.
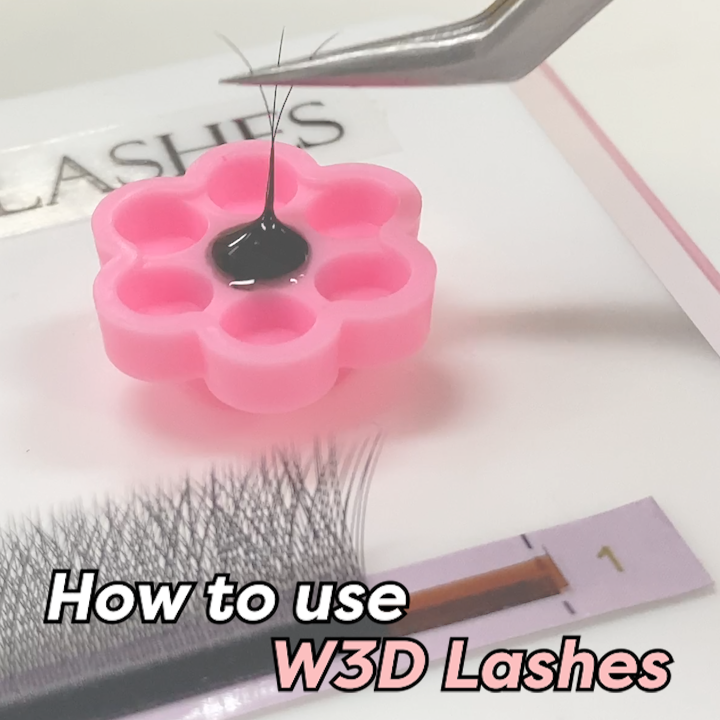
2. How to dip a W3D lash into lash glue
- Dip the W3D lash below the branches into the glue drop.
- You can leave a little glue blob on the base when taking it out, so that you have a little bit extra glue on the W3D lash.
3. How to place a W3D lash
- Place the W3D lash above the natural lash.
- Slide it a little up and down along the base of the natural lash to get a strong bond.
- When the glue dries, release your tweezers.
Watch the video on: 📷Instagram 📍Pinterest 📺YouTube
Products used:
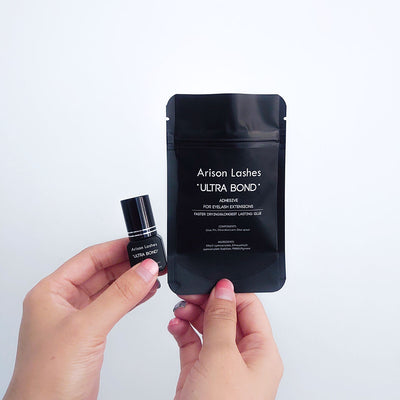
| Arison Lashes® Ultra Bond Lash Glue |
 |
| 1-second quick drying glue helps to create a firm, long-lasting bond between lash spikes and the natural lashes. |
| Arison Lashes® W3D Lash Extensions |
 |
| 1-second quick drying glue helps to create a firm, long-lasting bond between lash spikes and the natural lashes. |


Leave a comment